Installing drawer slides may look simple, but getting it right is essential for smooth operation and long-lasting performance. Even the best-quality slides can fail if they’re misaligned, set too far back, or installed with the wrong hardware. The good news is that with the right tools, accurate measurements, and attention to detail, anyone can achieve professional results.
In this guide, we’ll walk through preparation, step-by-step installation methods for side-mount, under-mount, and center-mount slides, and the common mistakes to avoid so your drawers glide effortlessly for years.
Installation Tips You Need to Know
- Proper installation ensures smooth drawer operation and prevents premature wear
- Most installation issues stem from incorrect measurements or misalignment
- Different slide types require specific installation techniques
Step-by-Step Guide to Installing Different Types of Slides
Installing drawer slides correctly is critical for furniture functionality. Poor installation leads to drawers that stick, sag, or fail completely. Let’s break down the installation process for each major slide type to ensure you get it right the first time.
Preparing for Installation
Before touching a single screw, proper preparation will save you time and frustration:
- Gather all necessary tools:
- Tape measure
- Pencil
- Carpenter’s square
- Drill with appropriate bits
- Screwdriver (manual or powered)
- Level
- Temporary shims or spacers
- Installation jig (optional but recommended)
- Check your measurements twice:
- Verify cabinet opening dimensions
- Confirm drawer box dimensions
- Ensure you have the correct slide length (slides should be about 1″ shorter than drawer depth)
- Read the manufacturer’s instructions:
- Each brand may have specific requirements
- Note any special hardware included
- Check for specific clearance requirements
- Remove the drawer from the cabinet
- Set aside any existing hardware that will be replaced

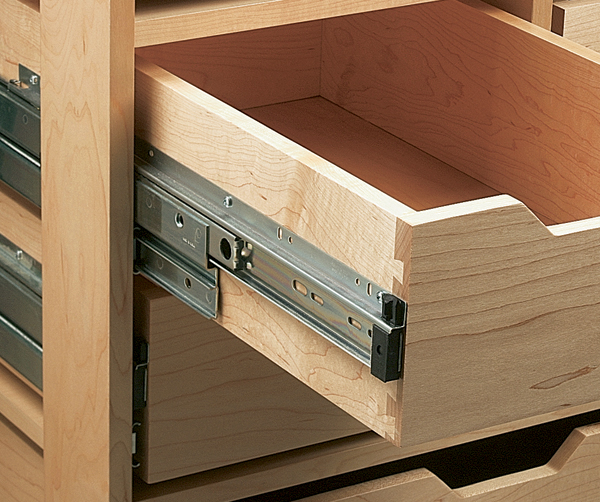
Installing Side Mount Drawer Slides
Side-mount slides are the most common type and relatively straightforward to install:
- Separate the slide members:
- Pull the drawer member completely out until it disconnects from the cabinet member
- Set aside in labeled pairs to avoid confusion
- Mark the installation position:
- Measure up from the bottom of the cabinet opening to where you want the bottom of the drawer to sit
- Add the thickness of the drawer bottom and mark this height on both sides of the cabinet
- Use a carpenter’s square to draw horizontal lines at this height
- Install the cabinet members:
- Place the slide so the front end of the slide is held back from the front of the cabinetry by 1/16th of an inch. This precise setback prevents the drawer from hitting the cabinet face.
- Align the bottom edge of the slide with your horizontal line
- Check that the slide is level
- Mark screw hole positions
- Pre-drill if necessary (especially in hardwoods)
- Attach with screws, starting with the front hole
- Prepare the drawer for slide attachment:
- Measure and mark the position of the drawer member on both sides
- For optimal alignment, mark the centerline of the drawer sides
- Attach the drawer members:
- Align the front of the slide 1/16″ from the front edge of the drawer
- Check that the slide is parallel to the top edge of the drawer
- Secure with screws, starting from the front hole
- Complete all screw positions
- Insert the drawer:
- Align the drawer members with the cabinet members
- Push the drawer in until you hear/feel the slide members connect
- Test the drawer’s operation
Installing Undermount Drawer Slides
Under-mount slides offer a clean look but require more precise installation:
- Install drawer bottom sockets (if required):
- Position sockets at the rear bottom corners of the drawer
- Secure with provided screws
- Attach drawer profiles:
- Position the drawer profiles along the bottom edges of the drawer sides
- The front edge should be set back 1/16″ from the drawer front
- Secure with screws according to the pre-drilled holes
- Prepare the cabinet:
- Measure and mark the location for rear mounting brackets
- For frameless cabinets: position brackets on the back panel
- For face-frame cabinets: attach a mounting block to the back first
- Install rear brackets:
- Align brackets with your marks
- Ensure they’re level and at the correct height
- Secure with provided screws
- Install cabinet runners:
- Hook the rear of each runner onto its bracket
- Extend the runner forward to the cabinet opening
- For face-frame cabinets: attach face frame brackets
- For frameless: screw directly into cabinet sides
- Ensure runners are level and parallel
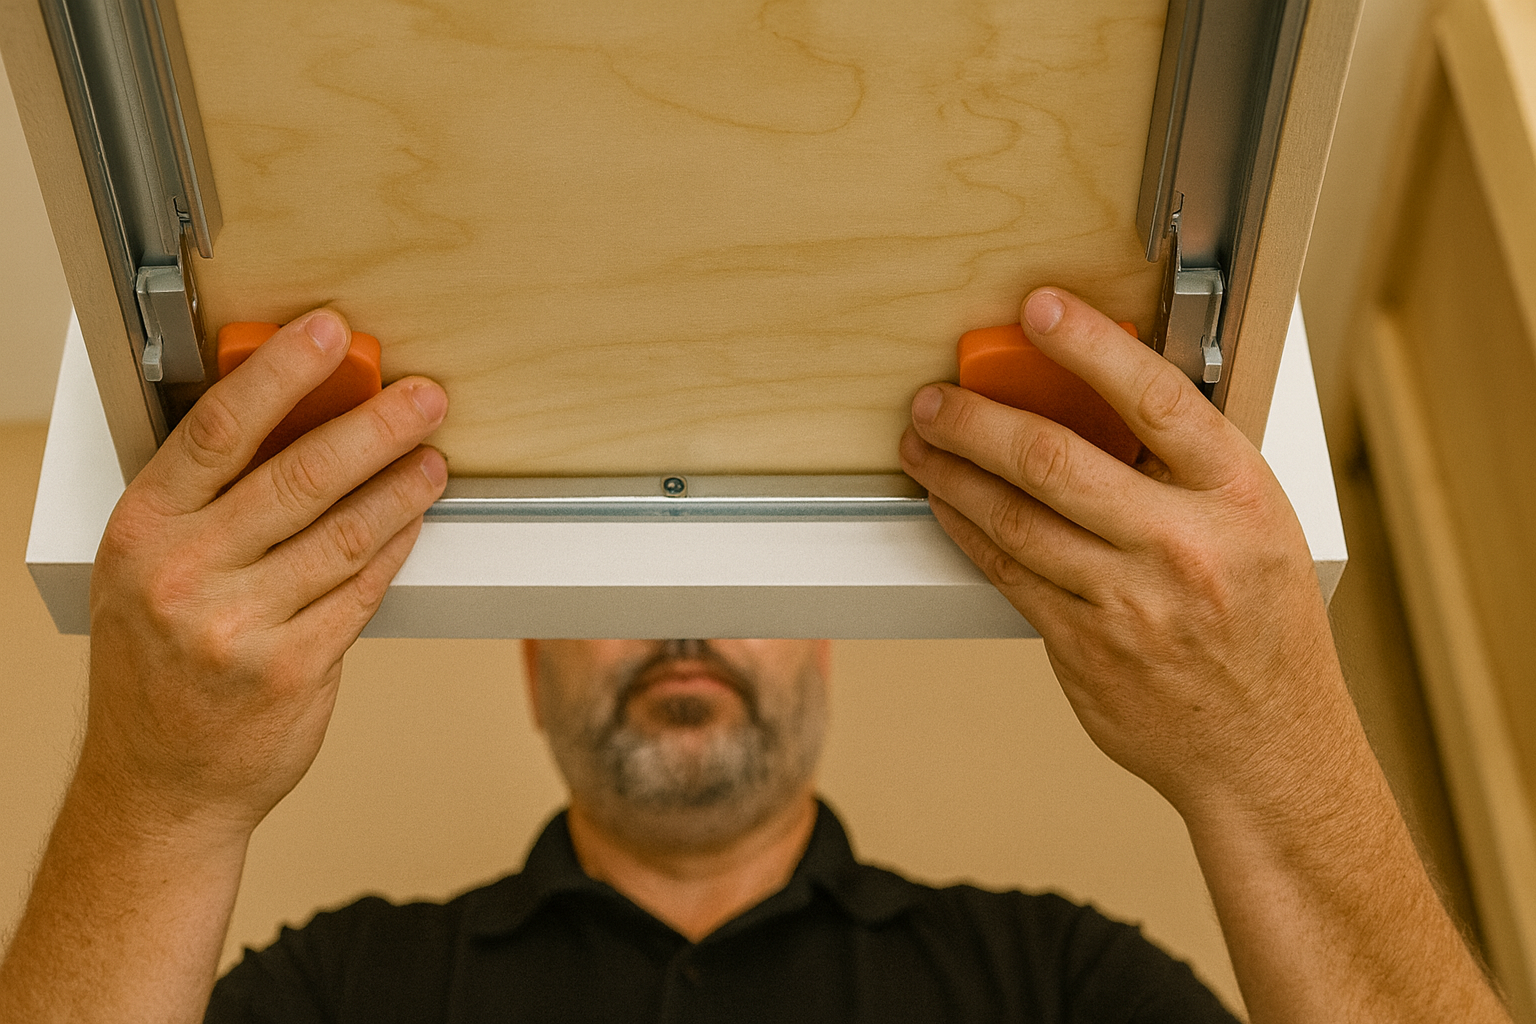
- Insert the drawer:
- Hold the drawer level, slightly higher than the installed runners
- Place the drawer sockets over the hooks or pins on the runners
- Lower the drawer until it rests on the runners
- Push back until the locking mechanisms engage
- Adjust as needed:
- Most premium under-mount slides have height, tilt, and side-to-side adjustments
- Follow manufacturer’s guidelines for making these adjustments

Installing Center-Mount Drawer Slides
Center-mount slides are simpler but require careful centering:
- Measure and mark the center:
- Find and mark the exact center of the cabinet opening
- Draw a centerline from front to back
- Find and mark the center of the drawer bottom
- Install the cabinet member:
- Align the slide along your centerline
- Position the front of the slide 1/16″ back from the cabinet face
- Ensure the slide is level and straight
- Attach with screws in all available holes
- Attach the drawer member:
- Align along the centerline of the drawer bottom
- Position correctly front-to-back according to manufacturer specs
- Secure with screws
- Insert the drawer:
- Carefully align the drawer member with the cabinet member
- Slide the drawer in completely
- Test for smooth operation
Common Installation Errors and How to Avoid Them
Even experienced cabinetmakers make installation mistakes. Knowing these common errors helps you avoid them and saves time and materials.
Misalignment Issues
The most frequent problems stem from poor alignment:
- Uneven slide heights:
- Problem: Drawer sits crooked or binds
- Solution: Use a consistent measuring system and reference points
- Prevention: Use a carpenter’s square and use the mark to draw a centerline on both the drawer box and cabinet sides. This ensures consistent placement.
- Non-parallel slides:
- Problem: Drawer binds or feels rough when opening/closing
- Solution: Use a level and measuring tape to verify slides are parallel
- Prevention: Install one screw first, check alignment, then secure remaining screws
- Incorrect setback:
- Problem: Drawer front hits cabinet or sits too far recessed
- Solution: Maintain the recommended 1/16″ setback from cabinet face
- Prevention: Use a setup block or spacer to ensure consistent setback
- Slides not level:
- Problem: Drawer tilts down when extended
- Solution: Use a level during installation
- Prevention: Check level both horizontally and vertically before final screw placement
Hardware and Clearance Problems
Physical issues with hardware and spacing create frustrating problems:
- Insufficient clearance:
- Problem: Drawer scrapes against cabinet opening
- Solution: Make sure to check the top sides and bottom of the drawer for clearance. This prevents binding.
- Prevention: Follow manufacturer’s specs for required clearance (typically 1/16″ to 1/8″)
- Wrong screw selection:
- Problem: Screws too long can penetrate through cabinet or drawer sides
- Solution: Use screws provided by the manufacturer or verify proper length
- Prevention: When in doubt, measure twice and select shorter screws
- Loose mounting surfaces:
- Problem: Slides pull loose under load
- Solution: Use solid mounting surfaces or reinforce with blocking
- Prevention: Check material quality before installation, especially in particleboard
- Over-tightening screws:
- Problem: Damages the slide or creates binding
- Solution: Tighten until snug, not forced
- Prevention: Use hand screwdrivers for final tightening to better feel resistance
Testing and Adjustments
After installation, proper testing and adjustment ensure long-term performance:
- Test under load:
- Open and close the drawer with weight similar to intended use
- Listen for unusual sounds
- Feel for binding or rough spots
- Make fine adjustments:
- For side-mount: loosen screws slightly to shift position if needed
- For under-mount: use built-in adjustment mechanisms
- For center-mount: may require reinstallation if significantly misaligned
- Check for square:
- Measure diagonally from corner to corner of the drawer front
- Equal measurements indicate square alignment
- Adjust if measurements differ by more than 1/16″
- Verify full function:
- Test soft-close mechanisms if present
- Confirm full extension works properly
- Check that self-closing feature engages if applicable
The key is to follow a systematic approach that works for your specific situation while adhering to basic principles of proper alignment and secure attachment.
With patience and attention to detail, drawer slide installation can be easy method for all skills. Taking the time to install slides correctly the first time saves hours of troubleshooting and adjustment later, ensuring furniture that functions flawlessly for years to come.
Final Thoughts: How to Install Drawer Slides
Correct drawer slide installation is the foundation of reliable drawer performance. Taking time to measure carefully, follow the manufacturer’s instructions, and double-check alignment ensures your slides work smoothly and last longer.
Whether you’re fitting standard side-mounts, precision undermounts, or simple center-mounts, the same rule applies: preparation and accuracy pay off. Once installed, test your drawers under load and make adjustments as needed—this small step can prevent hours of frustration later. With patience and attention to detail, you’ll have drawers that function as well as they look.


